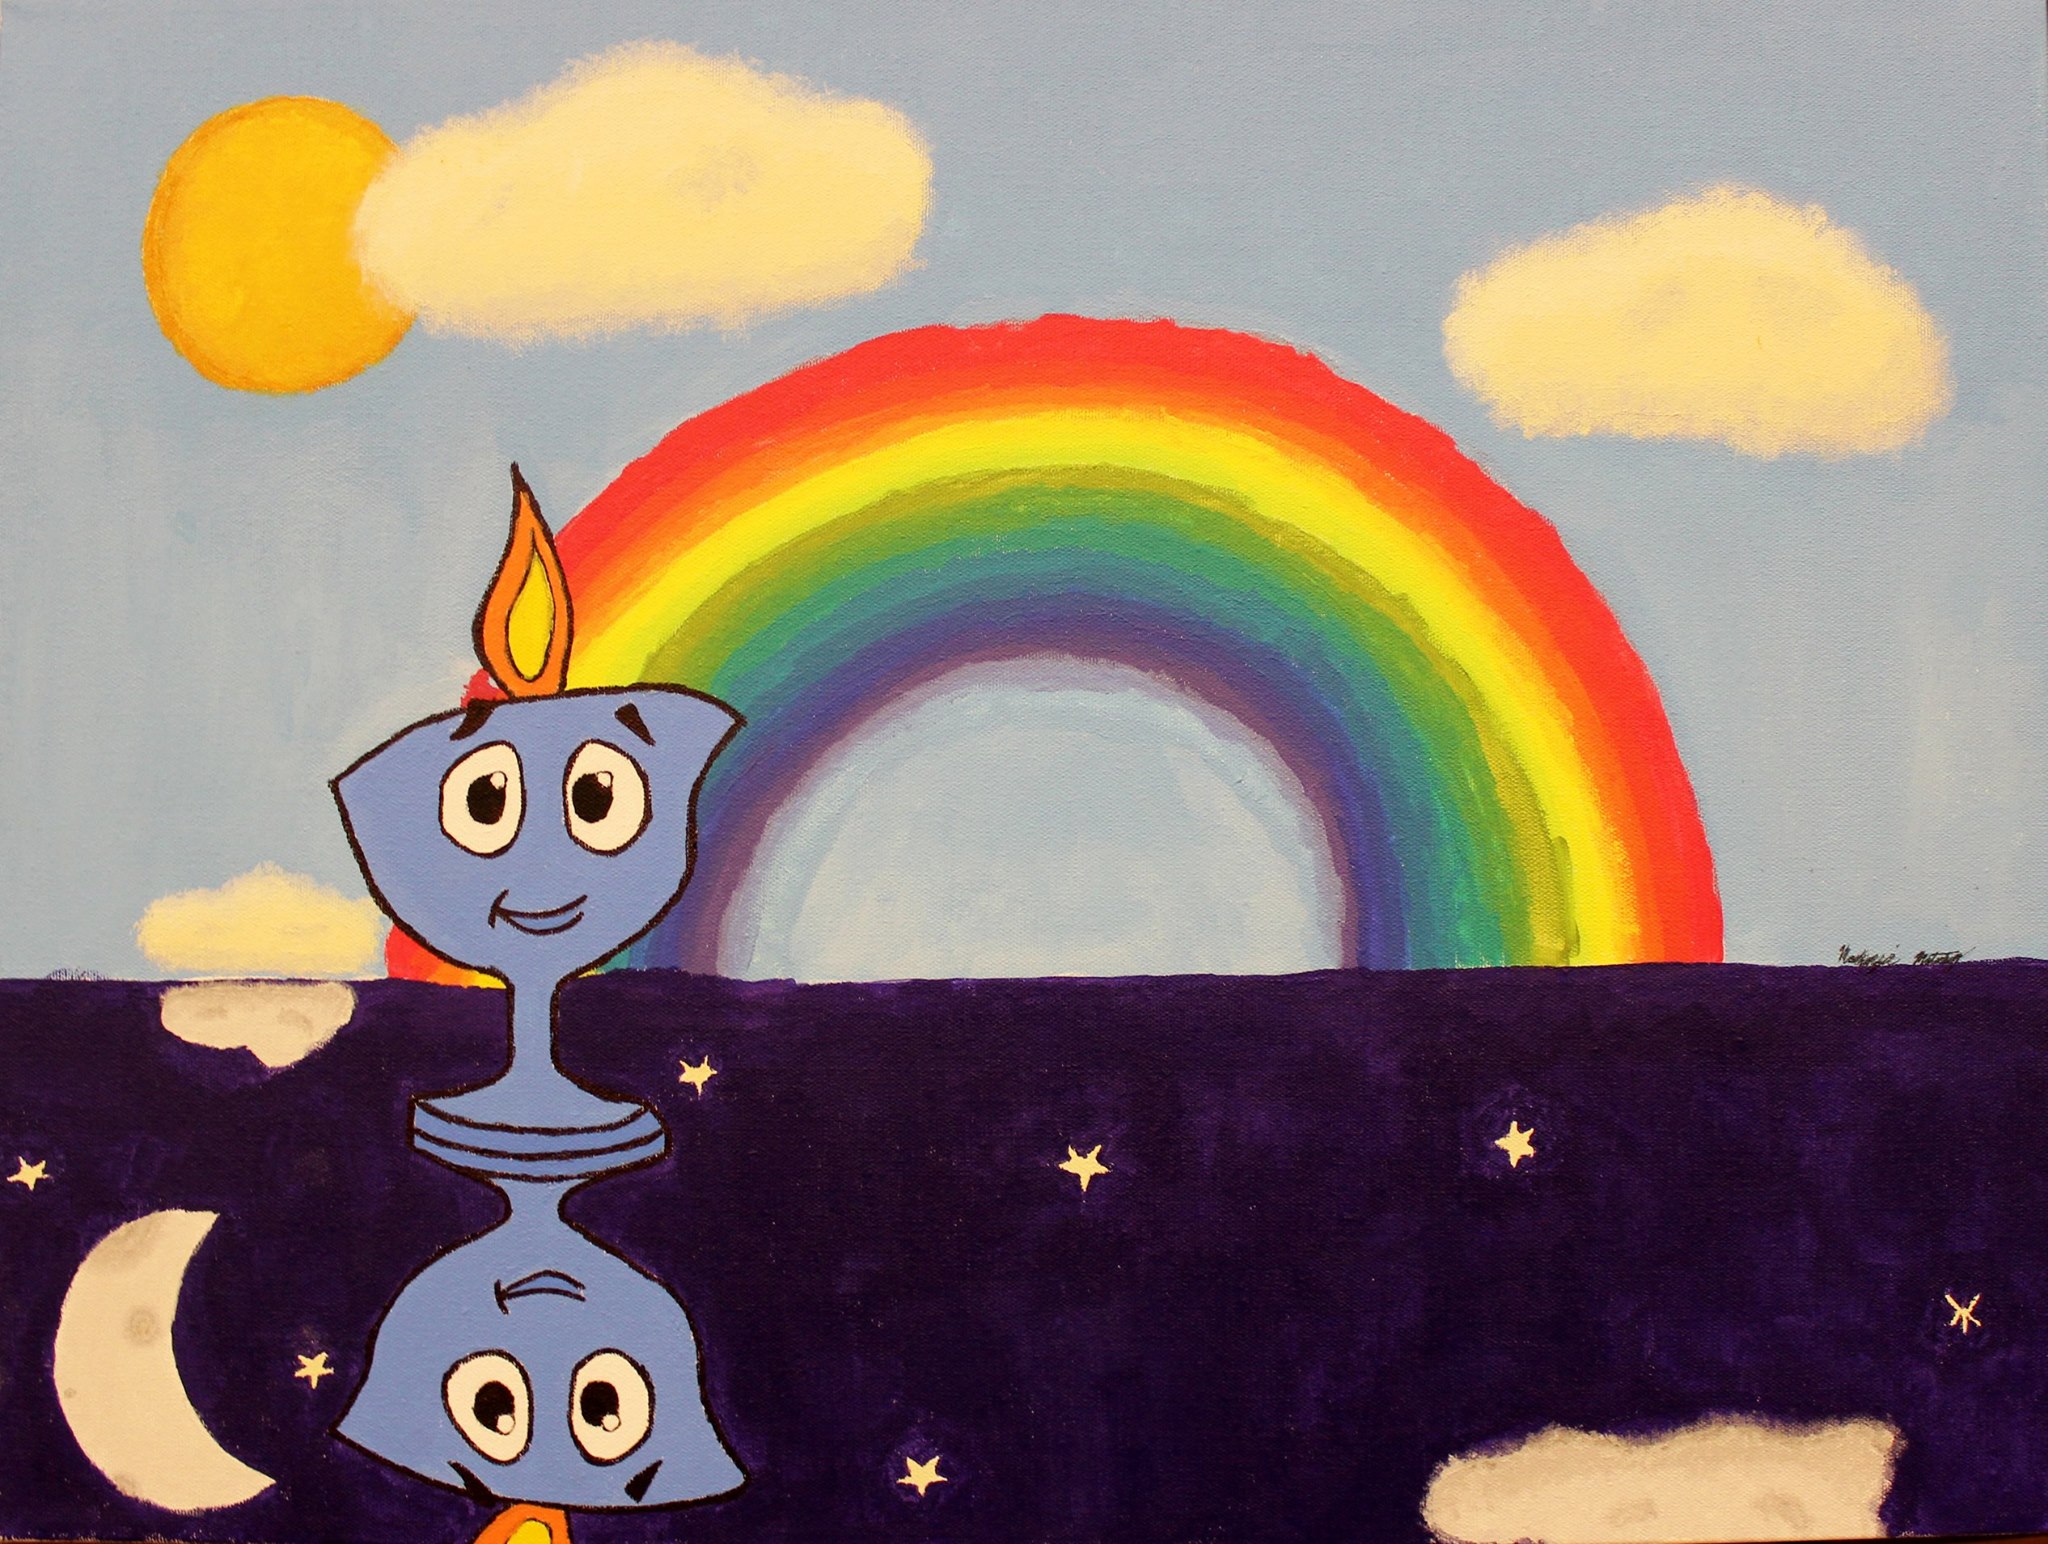
Alice the Chalice is a project by the Rev. Amy Freedman and Peter Bowden. First created in 2002 as clip art and a single activity page, now Unitarian Universalist Kids everywhere are coloring Alice the Chalice!
We have been very slowly making coloring pages and Alice the Chalice resources. UU congregations and families have also written for permission to use Alice the Chalice in exciting ways including:
- Baby quilts
- Felt boards
- Murals
- Hold Alice the Chalice kids birthday parties
- Sanctuary seat busy bag Holders
- and more!
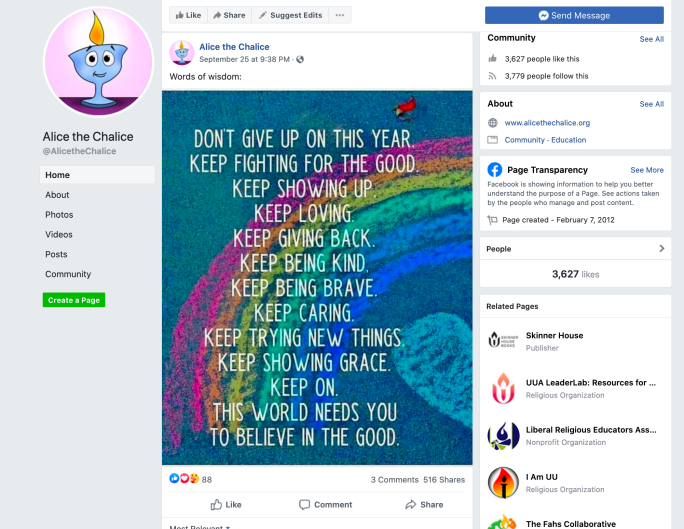
In addition to this site, Amy curates the popular Alice the Chalice Facebook page featuring resources for UU kids, parents, and religious educators!
Join over 3,000 Unitarian Universalists and friends who receive resources, ideas, and inspiration through this page!
Have questions about using Alice the Chalice? Read more about permissions here.
Amy & Peter